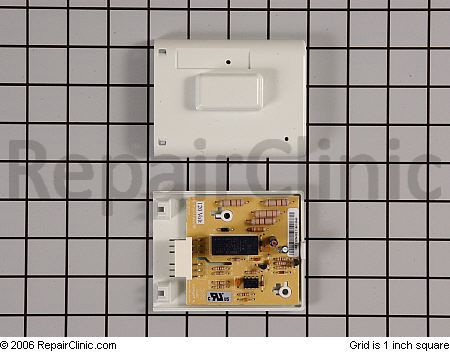
An infinite switch is what “they” call the switch that’s attached to the knob you use to turn on the stove burner. It’s called “infinite” because you can set the heat from low to high and everywhere in between, so it’s (theoretically) infinitely adjustable as opposed to the “Low-Medium-High” switches that have only three heat settings.
A typical condition you’ll see when an infinite switch goes bad is that the surface element won’t heat or it will just go to high heat no matter what the setting on the switch.
Depending on your appliance type/model, access the infinite switch using one of the following methods:
- For most standard models, remove the back panel.
- On models with front-mounted controls, the panel is attached with screws on both ends. Remove the screws and tilt the control panel. They’s a whole mess o’ wires in there so be careful not to let the wires pull out from the components.
- For models with a removable backsplash, lift the backsplash, rest it on the cooktop and remove the screws to access the components.
- If you are working on an eye-level range, remove the control panel by opening the door and removing the screws that secure it. The screws may be located under the front of the exhaust hood or below the control panel. If the control panel is hinged, tilt the control panel towards you.
- On some models, you have to remove the rear panel and front panel before you can get to work.
- If the front control panel is glass, remove the screws holding the glass-retaining trim.
If you’re unfamiliar with your range, come ye and review the interactive appliance breakdown diagrams to hepya visualize your repair experience.
Danger, Will Robinson! Before you even turn the first screw to begin disassembly, you gotsta kill power to the appliance. You can do this by turning off the circuit breaker or pulling the fuses at the fuse box or by simply pulling the plug. Use your light stick to make doubly-woubly sure the power is off before proceeding. A jolt from 220 volts can fry yo ace, so make sure that sucker is dead before going in.
Awwite, after you’ve killed power to the range or cooktop, we’re ready to break open a can o’ whupass. So, let’s begin…

Legend:
L1 – Line 1 – 110 volts
L2 – Line 2 – 110 volts
P – Pilot Light – 110 volts
H1 – Heater 1 – 110 volts
H2 – Heater 2 – 110 volts
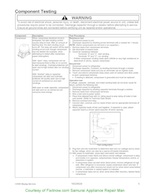
Checking the Infinite Switch:
Set meter to the Rx1 scale, zero your meter, and check the switch with wires unhooked. (Mark the wires before you remove them.) For help using an ohm meter to check resistance and/or continuity, see this page.
With the infinite switch turned to the on position you should read…
- L1 to P ==> Continuity
- L1 to H1 ==> Continuity
- L2 to H2 ==> Continuity
Now, with the switch turned to the off position, you should read…
- No continuity from L1 to P
- No continuity from L1 to H1
- No continuity from L2 to H2
If you get something different than what’s listed above, you got yerself a bad switch! Now you’re ready to replace it. Remove the infinite switch by removing the screws or nuts that hold it in place and install a new infinite switch by following the disassembly instructions in reverse order. Be sure to follow the wiring diagram and install the wires to the correct terminals.
If you need more help, come start a new topic in the Kitchen Appliance Repair forum.
To learn more about your range/stove/oven, or to order parts,
click here.




 So you’ve worked through the